
Image Source – Google
Adding a carport to your property is a great way to protect your vehicles from the elements and add value to your home. While the idea of installing a carport might seem daunting, with the right tools and a clear plan, it can be a manageable DIY project. This step-by-step guide will walk you through the process of installing a carport, making it easy for you to complete the project successfully.
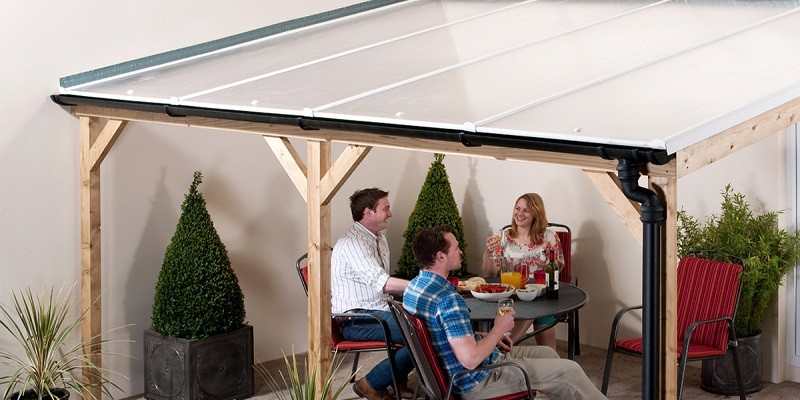
If you are looking for Carport roof Installation services then you may navigate to this website.
Materials and Tools Needed
Before you begin the carport installation process, it is essential to gather all the necessary materials and tools. Here is a list of what you will need:
Materials:
- Carport kit
- Concrete mix
- Gravel
- Anchor bolts
- Lumber for bracing
- Sand
- Roofing materials
- Sealant
Tools:
- Tape measure
- Shovel
- Level
- Drill
- Hammer
- Screwdriver
- Wrench
- Saw
Step-by-Step Guide
Now that you have gathered all the necessary materials and tools, it's time to start the carport installation process. Follow these steps to successfully install your carport:
Step 1: Prepare the Site
- Choose a level spot for the carport.
- Clear the area of any debris and vegetation.
- Mark the perimeter of the carport with stakes and string.
Step 2: Pour the Foundation
- Dig holes for the anchor bolts.
- Fill the holes with concrete mix and insert the anchor bolts.
- Allow the concrete to cure before proceeding.
Step 3: Assemble the Frame
- Follow the manufacturer's instructions to assemble the carport frame.
- Use a level to ensure the frame is straight and level.
- Attach the frame to the anchor bolts using nuts and washers.
Step 4: Install the Roofing
- Add the roofing materials according to the instructions.
- Secure the roofing in place using screws or nails.
- Apply sealant to prevent leaks.
Step 5: Finishing Touches
- Add any finishing touches, such as gutters or trim pieces.
- Check the carport for any loose bolts or screws and tighten them as needed.
- Give the entire structure a final inspection to ensure everything is secure and properly installed.
Tips for Success
Here are some additional tips to help ensure a successful carport installation:
- Double-check all measurements before cutting or drilling to avoid mistakes.
- Work with a partner to make the assembly process easier and safer.
- Follow the manufacturer's instructions carefully to ensure proper installation.
- Consider hiring a professional if you encounter any difficulties or feel unsure about any steps.
Conclusion
Installing a carport can provide a convenient and cost-effective way to protect your vehicles and add value to your property. By following this step-by-step guide and being prepared with the right materials and tools, you can successfully complete the installation process. Remember to take your time, follow the instructions carefully, and seek help if needed. With a little effort and patience, you'll soon have a functional and stylish carport to enjoy for years to come.